Headshots are different from creative portraits in that they are head & shoulders only, often have diffused, more even light, and don’t have busy backrounds. Many of us have profile pics on our social media that we feel show our true personality & creativity, but these aren’t always appropriate for more career-oriented sites like LinkedIn. A headshot can be creative & show some personality, and still give the appearance of trust & professionalism. Let’s look at some examples….
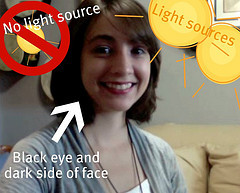
Under-lit, too busy, & bad cropping:

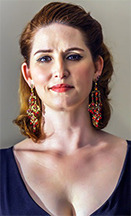
Overlit & bad cropping:
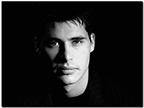
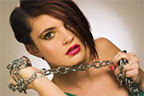
Too dramatic: (might be applicable for a specific theater role, but either way, you still want a headshot of what you look like on any given day)
Too much head angle or body gesturing:

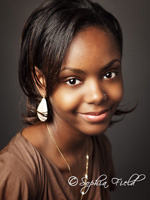
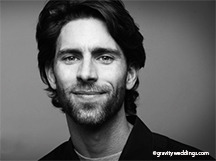
More traditional, good lighting, emphasis on the eyes:


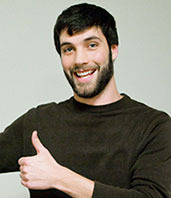
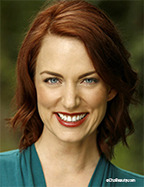
More modern, good lighting, bright eyes…
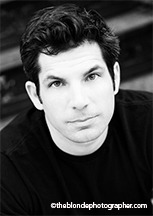

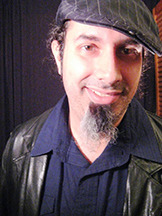
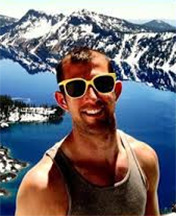
Interesting images, but more for a bio & not considered a business/professional headshot:

You get the picture, no pun intended. Think of your professional headshot as an image your mother would love.
Tips for the Photographer:
- Talk to your subject for 5 minutes before shooting. Most people don’t like having their picture taken, so helping them feel at ease before you click the first frame.
- Keep the camera at eye level or slightly above.
- Keep the focus on the eyes
- Keep the background simple
- Use diffused light
- Ideal lenses: 85mm prime lens or shorter, unless you have room to back up, then a longer lens will also work & help you distance the subject from the background.
- If your subject is in the performing arts, consider a lighting style & background that may slightly influence the overall mood of the photography.
Tips For the Subject:
- Collaborate with a fellow photo student
- Bring a few different shirts to the session, preferably solids, nothing too busy that will take away from the face
- Be prepared to spend at least 30 minutes
- Bring references of other photos you’ve seen that you might like.
- Ask the photographer to shoot a few different angles, with and without smiles so you have a variety to chose from.
All images are copyrighted by their respective photographers.