
Experimental Imaging
[flickr id=”14069599305″ thumbnail=”medium_640″ overlay=”true” size=”medium” group=”” align=”none”]
Over in the photography department, we are lucky to have a chair that is interested in experimenting. This semester, the Digital Imaging Pod opened on the 9th floor of the 600 Michigan building. It is filled with all sorts of goodies.
Last semester, when I was looking at classes, one thing I was interested in was working with the 60″ solvent printer that the photography department had purchased the previous year. Up until this point the students had not had the opportunity to use that equipment. I was informed that the solvent printer would be available to students that were enrolled in the new “Experimental Imaging Pod.” I was also informed that there would be more than just solvent printing. The thing that really got my attention was the 3D printers the department was willing to purchase for the pod.
[flickr id=”14066395521″ thumbnail=”medium” overlay=”true” size=”medium” group=”” align=”none”]
For those that don’t know, or haven’t yet heard of 3D printing, it’s all the rage. It involves printing in some sort of material that can be melted. It is melted (and cools) left to right, then the head raises up and continues the process on a new layer, slowly forming a solid (or not so solid) object.
This piqued my interest because I am interested in teaching at the university level, and it seemed like before I graduate from this wonderful program, I should have some experience with 3D printing, and that the experience may prove beneficial when looking for teaching positions. What I was going to do with the 3D printer was yet to be seen, but I knew I wanted to see what was possible.
[flickr id=”13883047818″ thumbnail=”medium_640″ overlay=”true” size=”medium_640″ group=”” align=”none”]
Part of the problem with using a new and experimental technology is having a reason to use it. In the beginning of the class, I wasn’t sure what I wanted to do, so trying to figure out how to use the equipment was a little bit of an issue.
[flickr id=”14066399951″ thumbnail=”medium” overlay=”true” size=”medium” group=”” align=”none”]
I finally came upon the idea of using the printer to create plates that could be pressed with a letterpress. I have always had an interest in letterpress, but haven’t really had an opportunity to exercise that interest. Also, carving out plates takes a lot of time and I have never been able to carve things as intricately and complicated as I would like to.
[flickr id=”14070126414″ thumbnail=”medium_640″ overlay=”true” size=”medium_640″ group=”” align=”none”]
I began working with images from the Internet, especially the pop culture images that I have always been interested in with my photographs. I finally, after a number of failed attempts, worked out the process for getting a plate from an Internet image. First, I pull the image from the Internet. I change the image from a color image to black and white, usually adjusting it through color channels. Then, I apply a threshold layer, which reduces the image to only two tones, black and white. It is at this point that I use Photoshop to paint back in pieces of the image that have been eliminated in the process. Then I move to Photoshop 3D (a new place where I have never worked before). I adjust the image in Photoshop 3D and extrude it to a certain depth. Because Photoshop 3D can’t handle extrusions that are all that complex, sometimes this involves breaking the image up into many different sections and reassembling it in the 3D space. Then, an extruded rectangle is used as a baseplate and the two sections are combined.
[flickr id=”14089649213″ thumbnail=”medium” overlay=”true” size=”medium” group=”” align=”none”]
Once that is finished, I export the finished plate to the 3D printer, allowing Photoshop to make the mesh watertight and ready to print. The printer can take anywhere from 2-12 hours to print these plates depending on how large and how deep I have made them (also something that I am still trying to work out, but I’m getting there).
[flickr id=”14070125434″ thumbnail=”medium_640″ overlay=”true” size=”medium_640″ group=”” align=”none”]
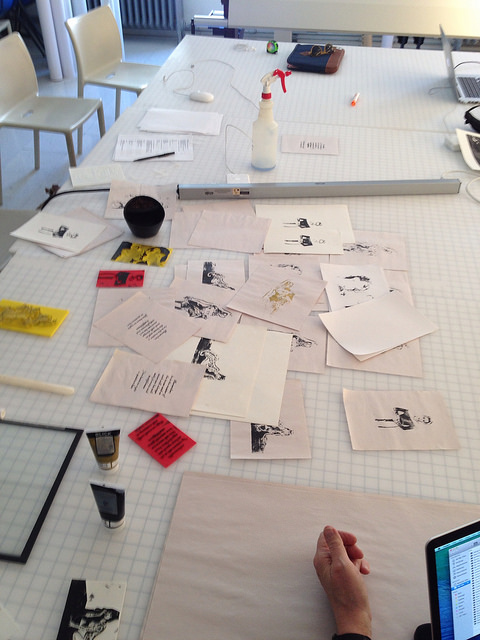
What I am left with is a plate that can be inked and run through a press. And the result is something very similar to a woodblock print. The best part is that when the plate gets worn out, I just hit print on another one. Ahhh, technology.