
How to Create a Sound Panel Absorber

As a continuation from the previous blog, I thought I would get a little more detailed on how to create a sound panel absorber (aka bass trap). These panels help attenuate a broad range of frequencies. Usually the most troublesome in a small room is the mid to low range, and these panels, which use insulation to deaden the sound, are great for this purpose. Foam is also used quite a bit in home studios, which helps reduce high frequencies, but does not tame as broad of frequency range as the insulation based panel.
Materials you will need for one 2′ x 4′ panel:
See the image above.
Also needed:
Electric Drill
Wood Screws
Staple Gun
Staples
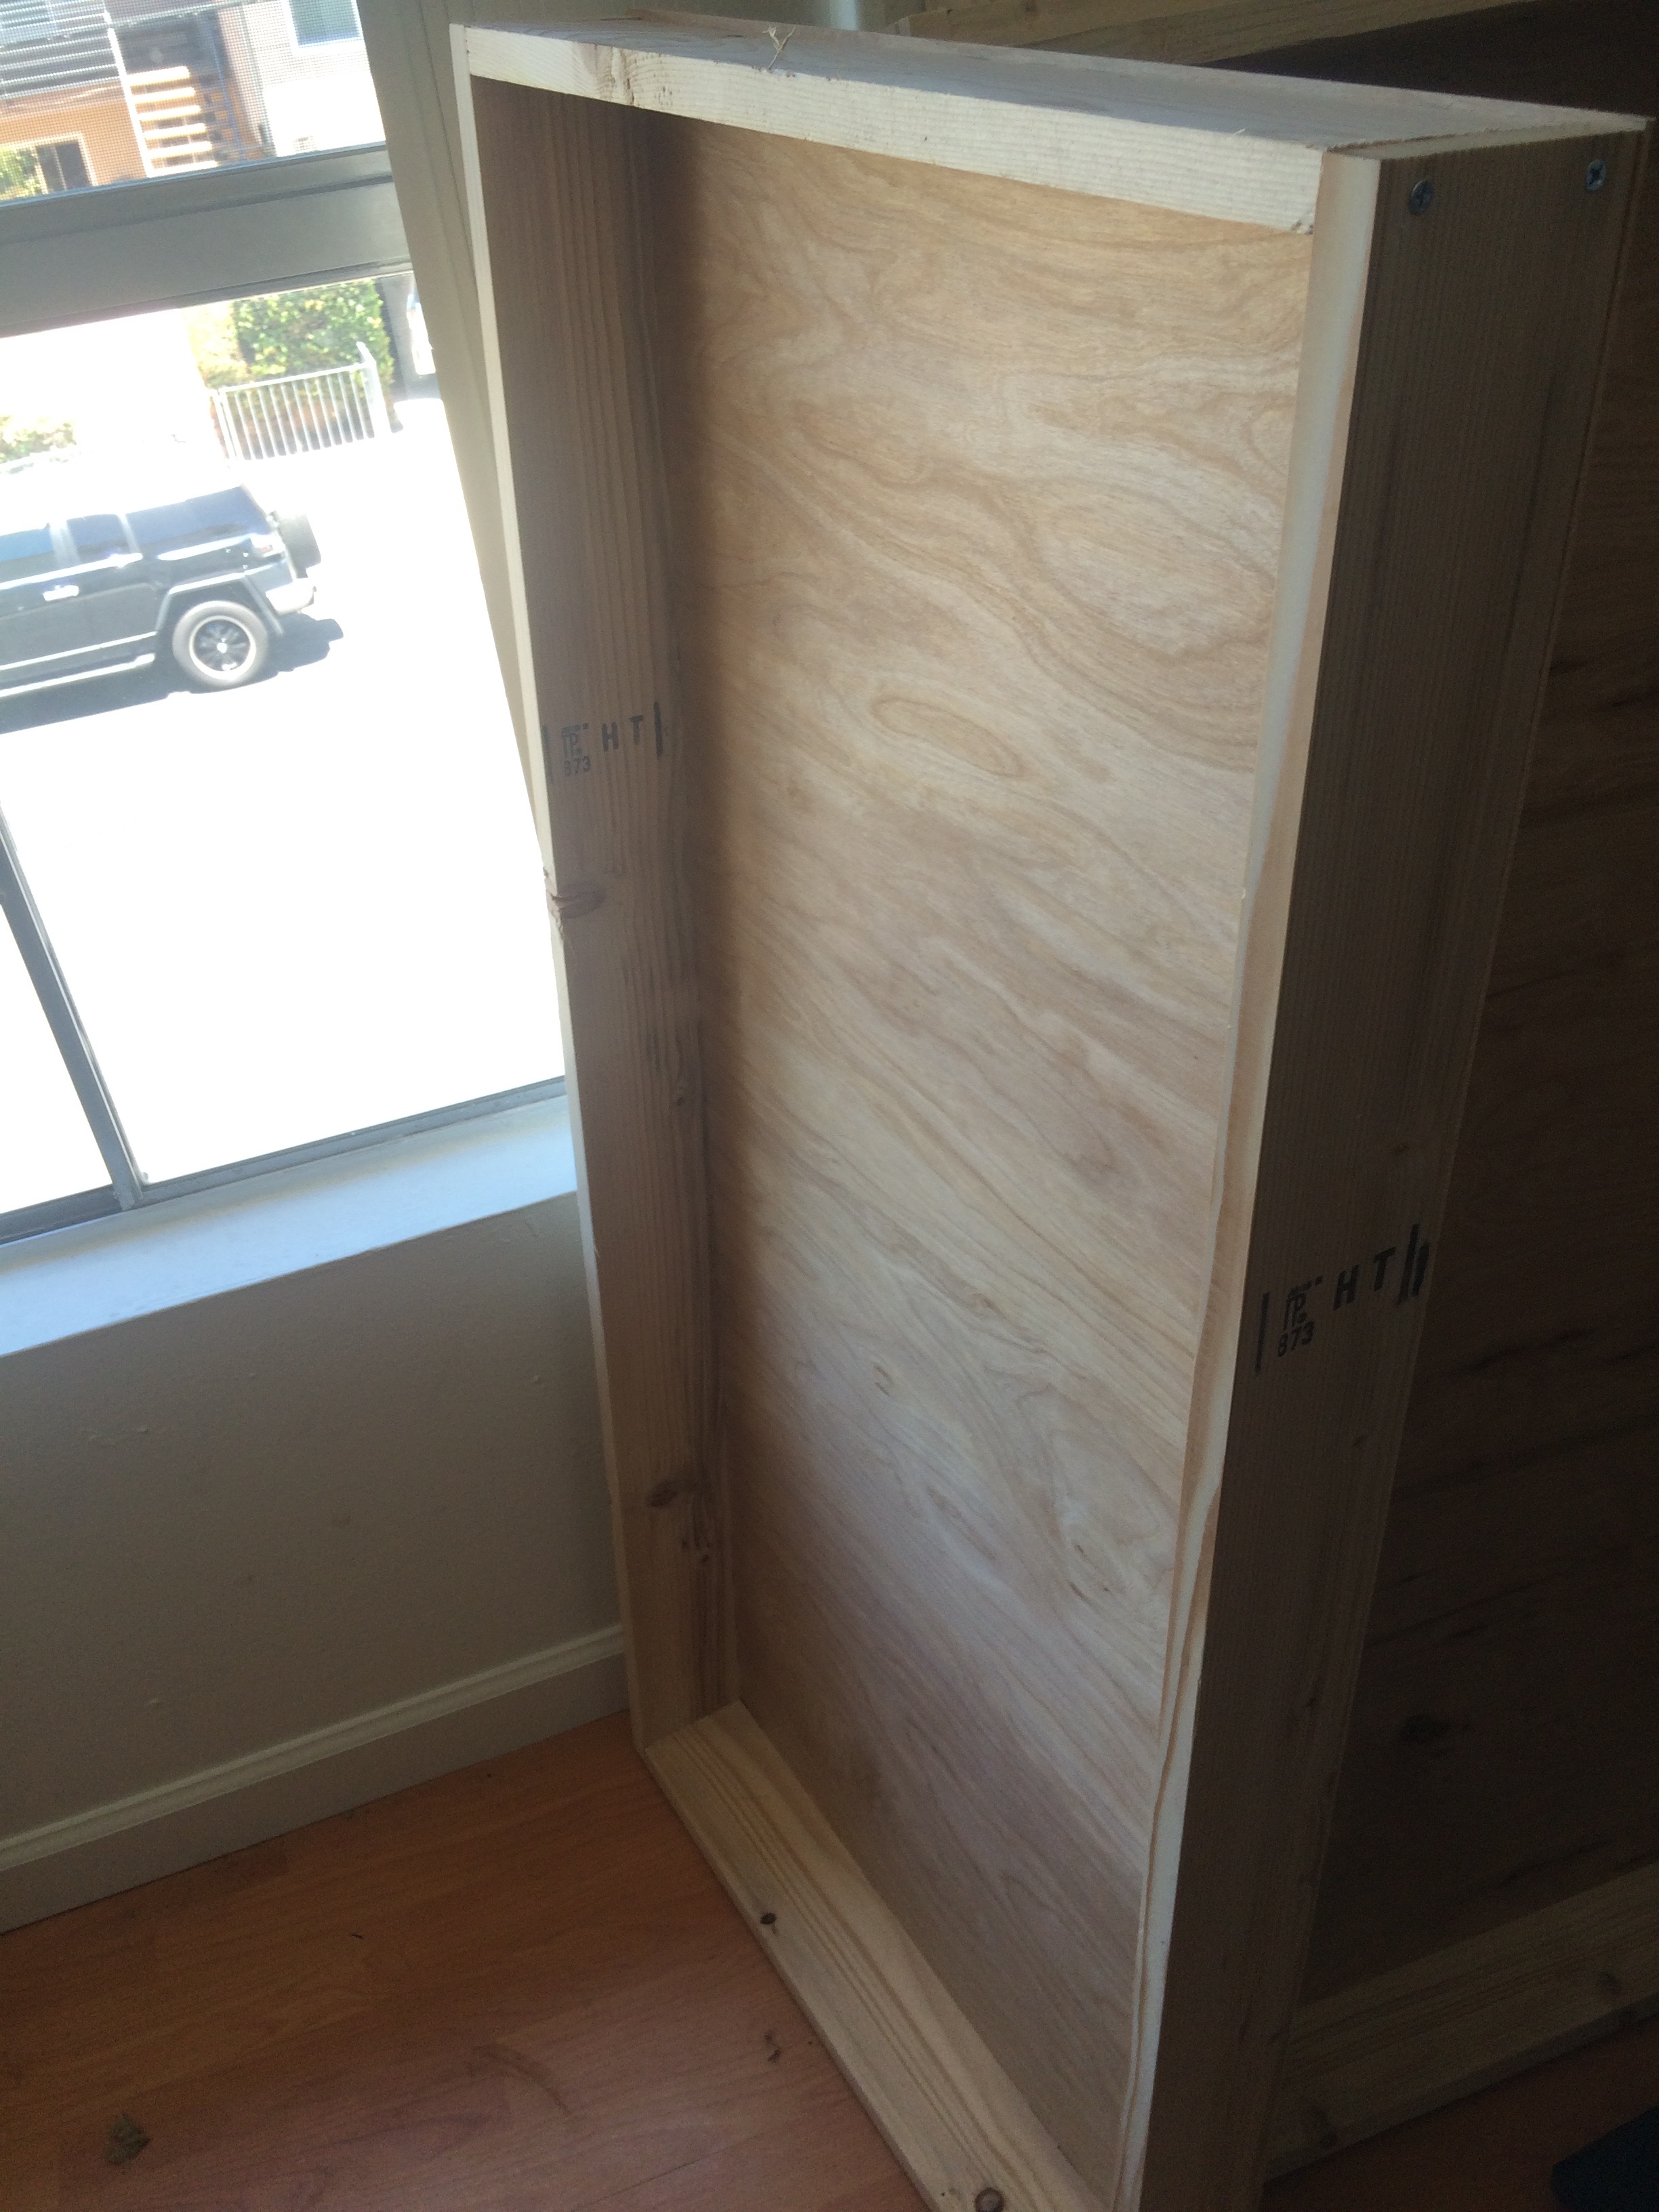
Build the frame, nail plywood to the back of the frame.
Use the electric drill to create pilot holes in the 4 foot 1″ x 4″ wood pieces. Drill the wood screws in, then you are ready to nail plywood backing on.

Fill with insulation
Fit the insulation into the panel, you might need to make some cuts to fill out the entire panel. Staple the insulation to the plywood backing to make sure it doesn’t shift around.

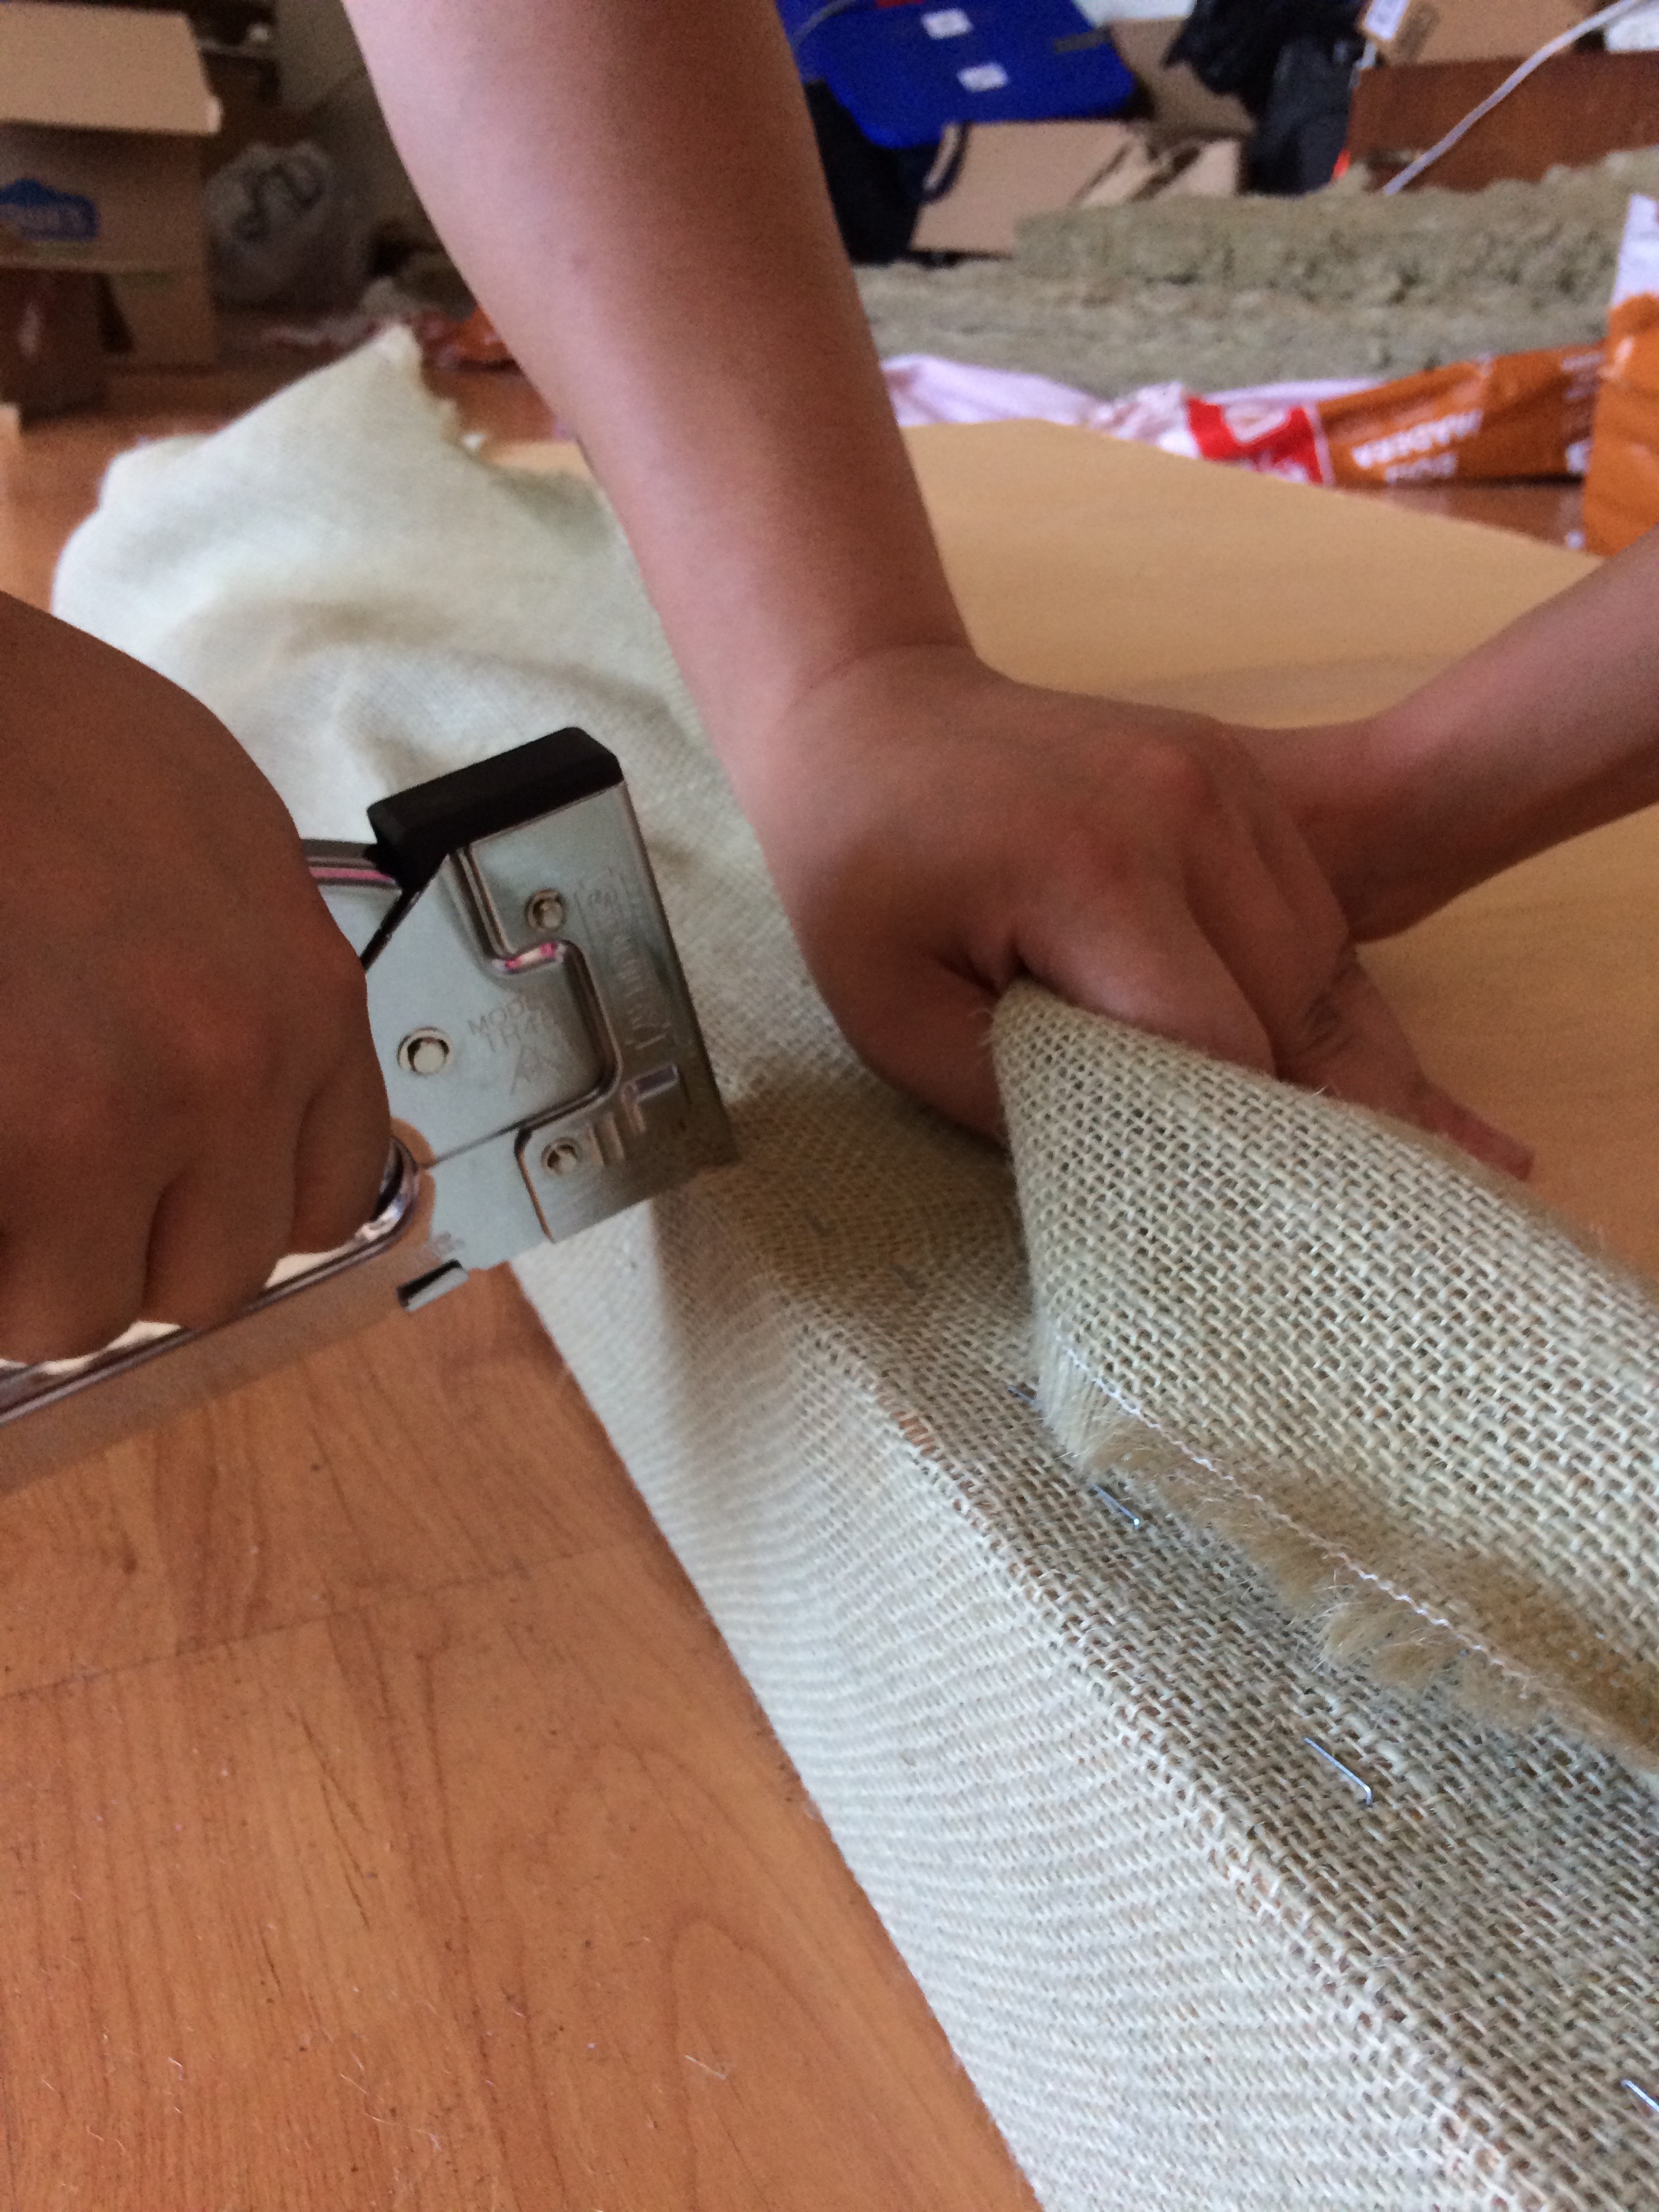
Wrap panel
Take the 4′ x 6′ piece of burlap, and place it on the ground. Put the panel insulation side down centered within the burlap. Now the burlap is ready to be stapled to the back of the panel. Make sure the burlap is stretched tightly.
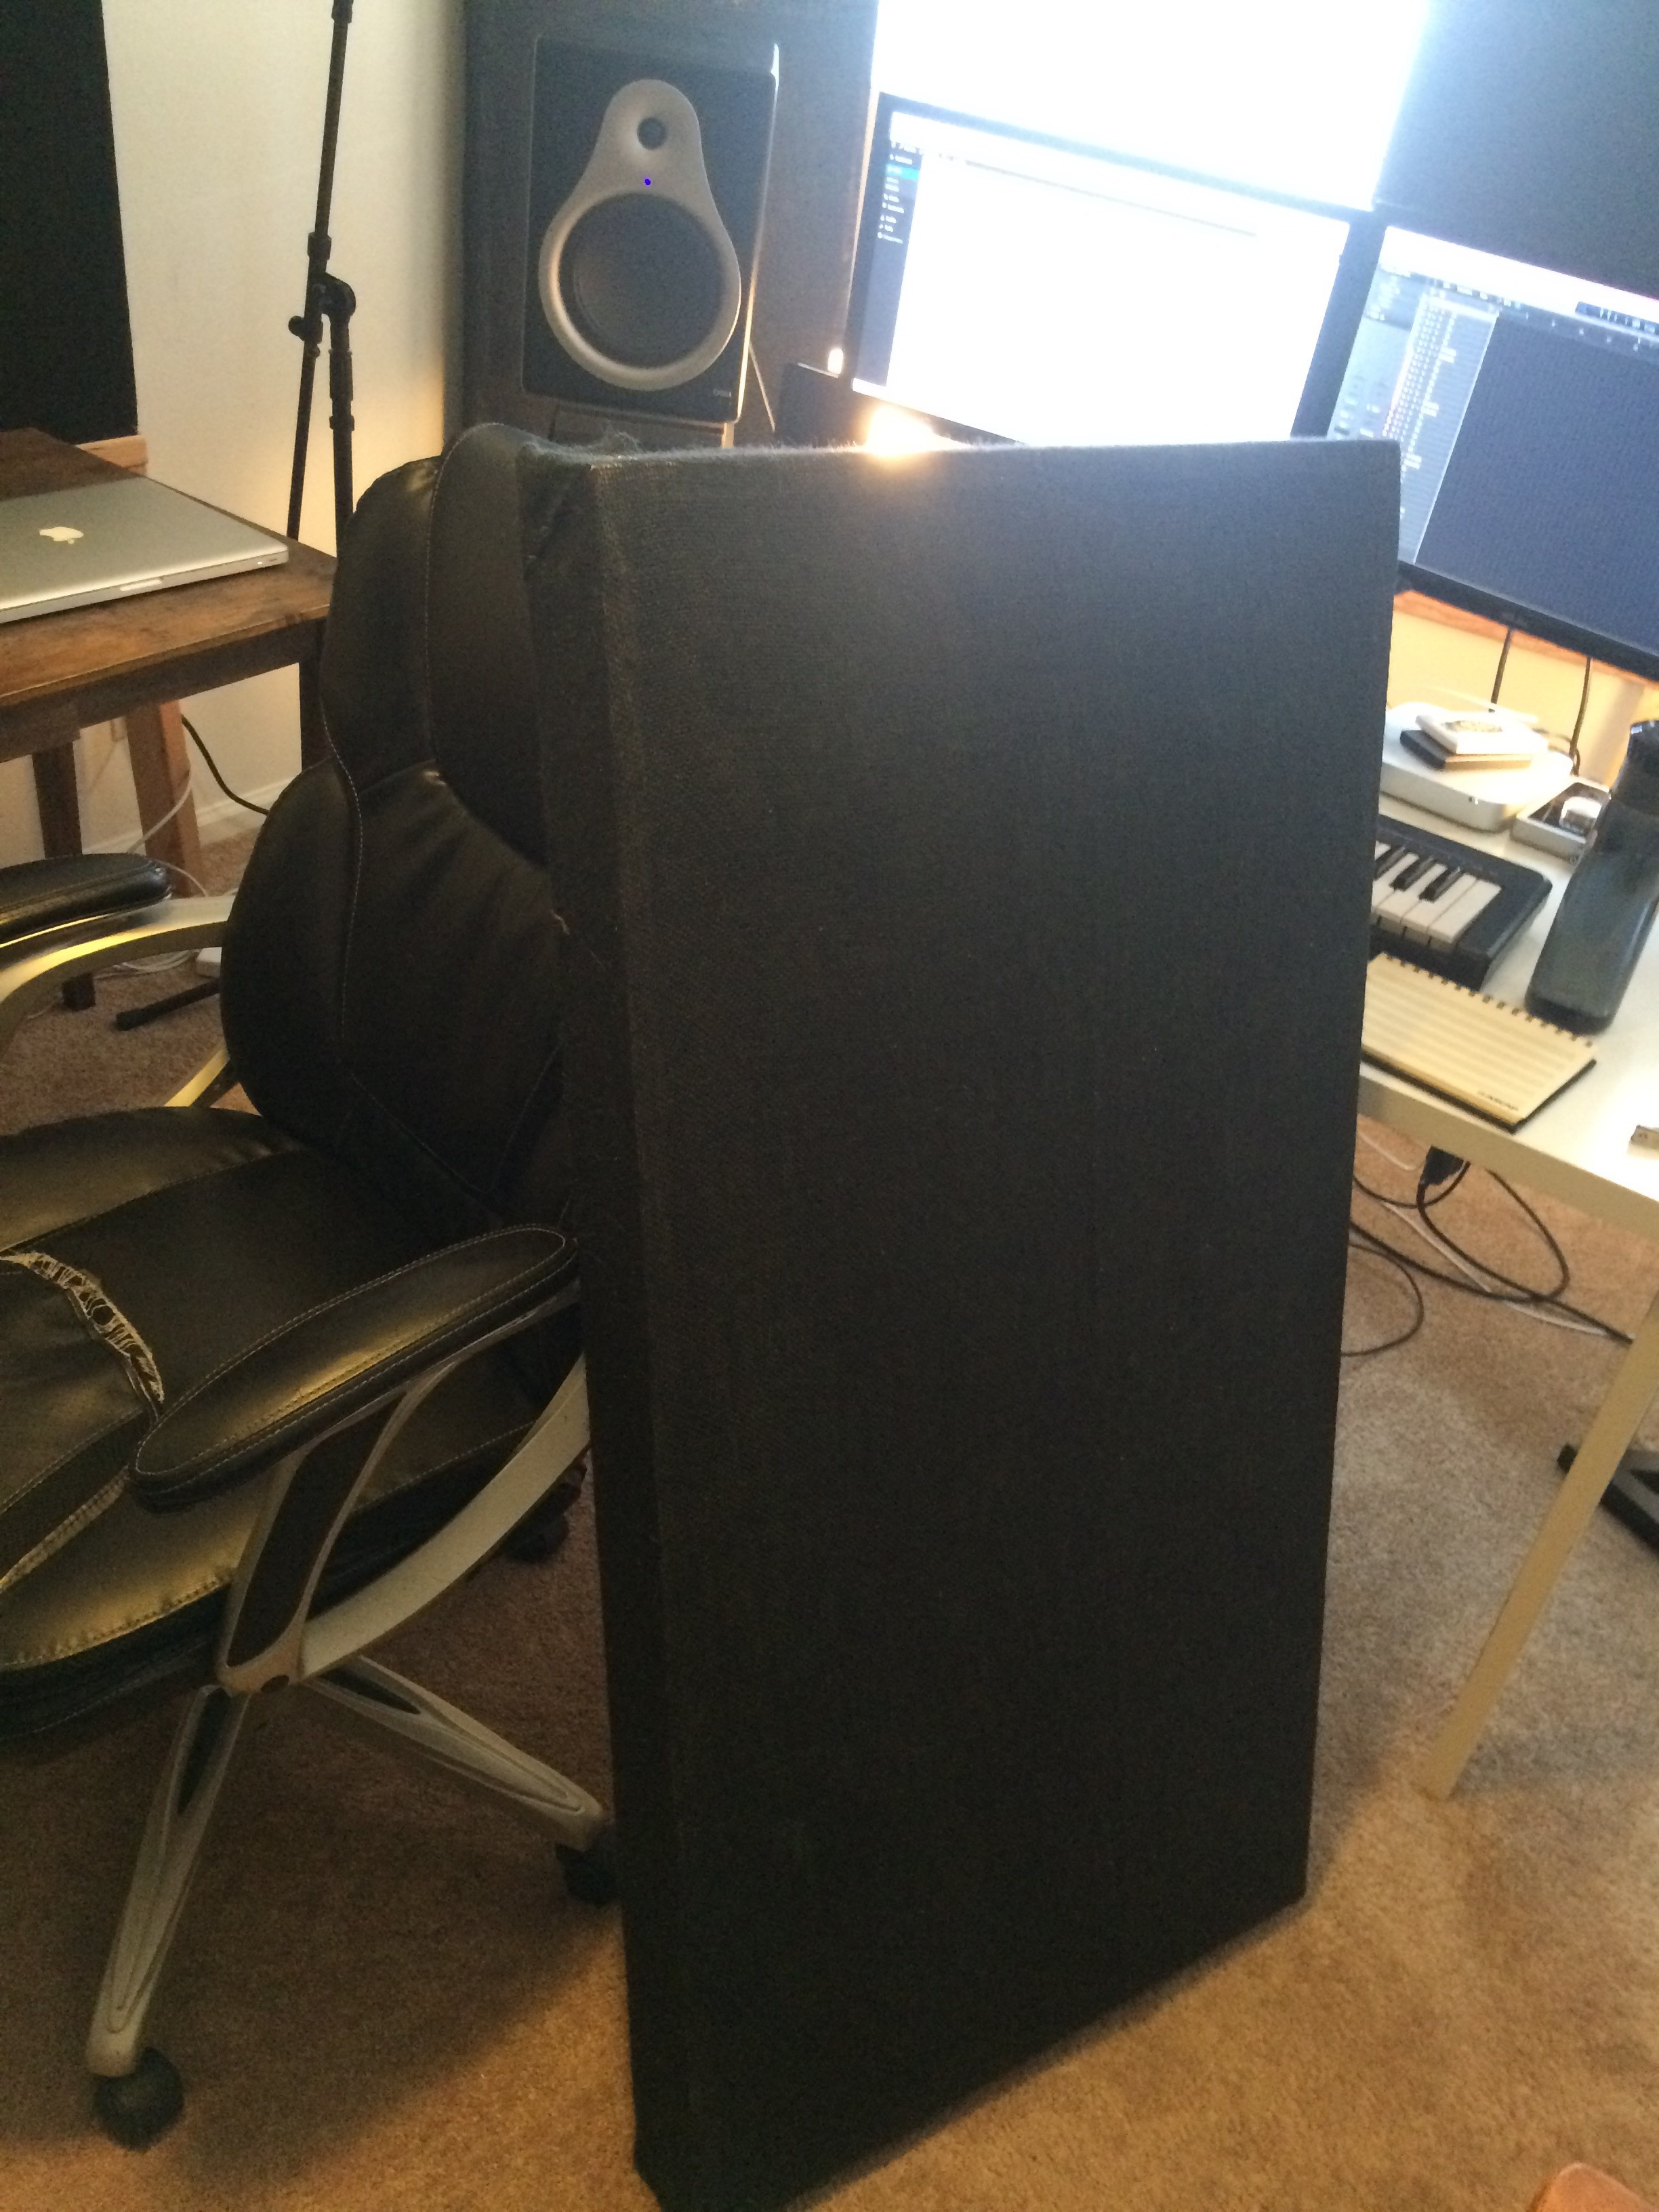
Completed Panel
Hanging panels in an apartment can be challenging. Drilling too many holes in the walls is always a little risky when trying to get your full deposit back. That is why I decided to create wooden stands out of 2″ x 4″‘s, which require no drilling. Another good option is to stack two panels from the floor to the ceiling. I lucked out that the floor to ceiling was exactly 8’.
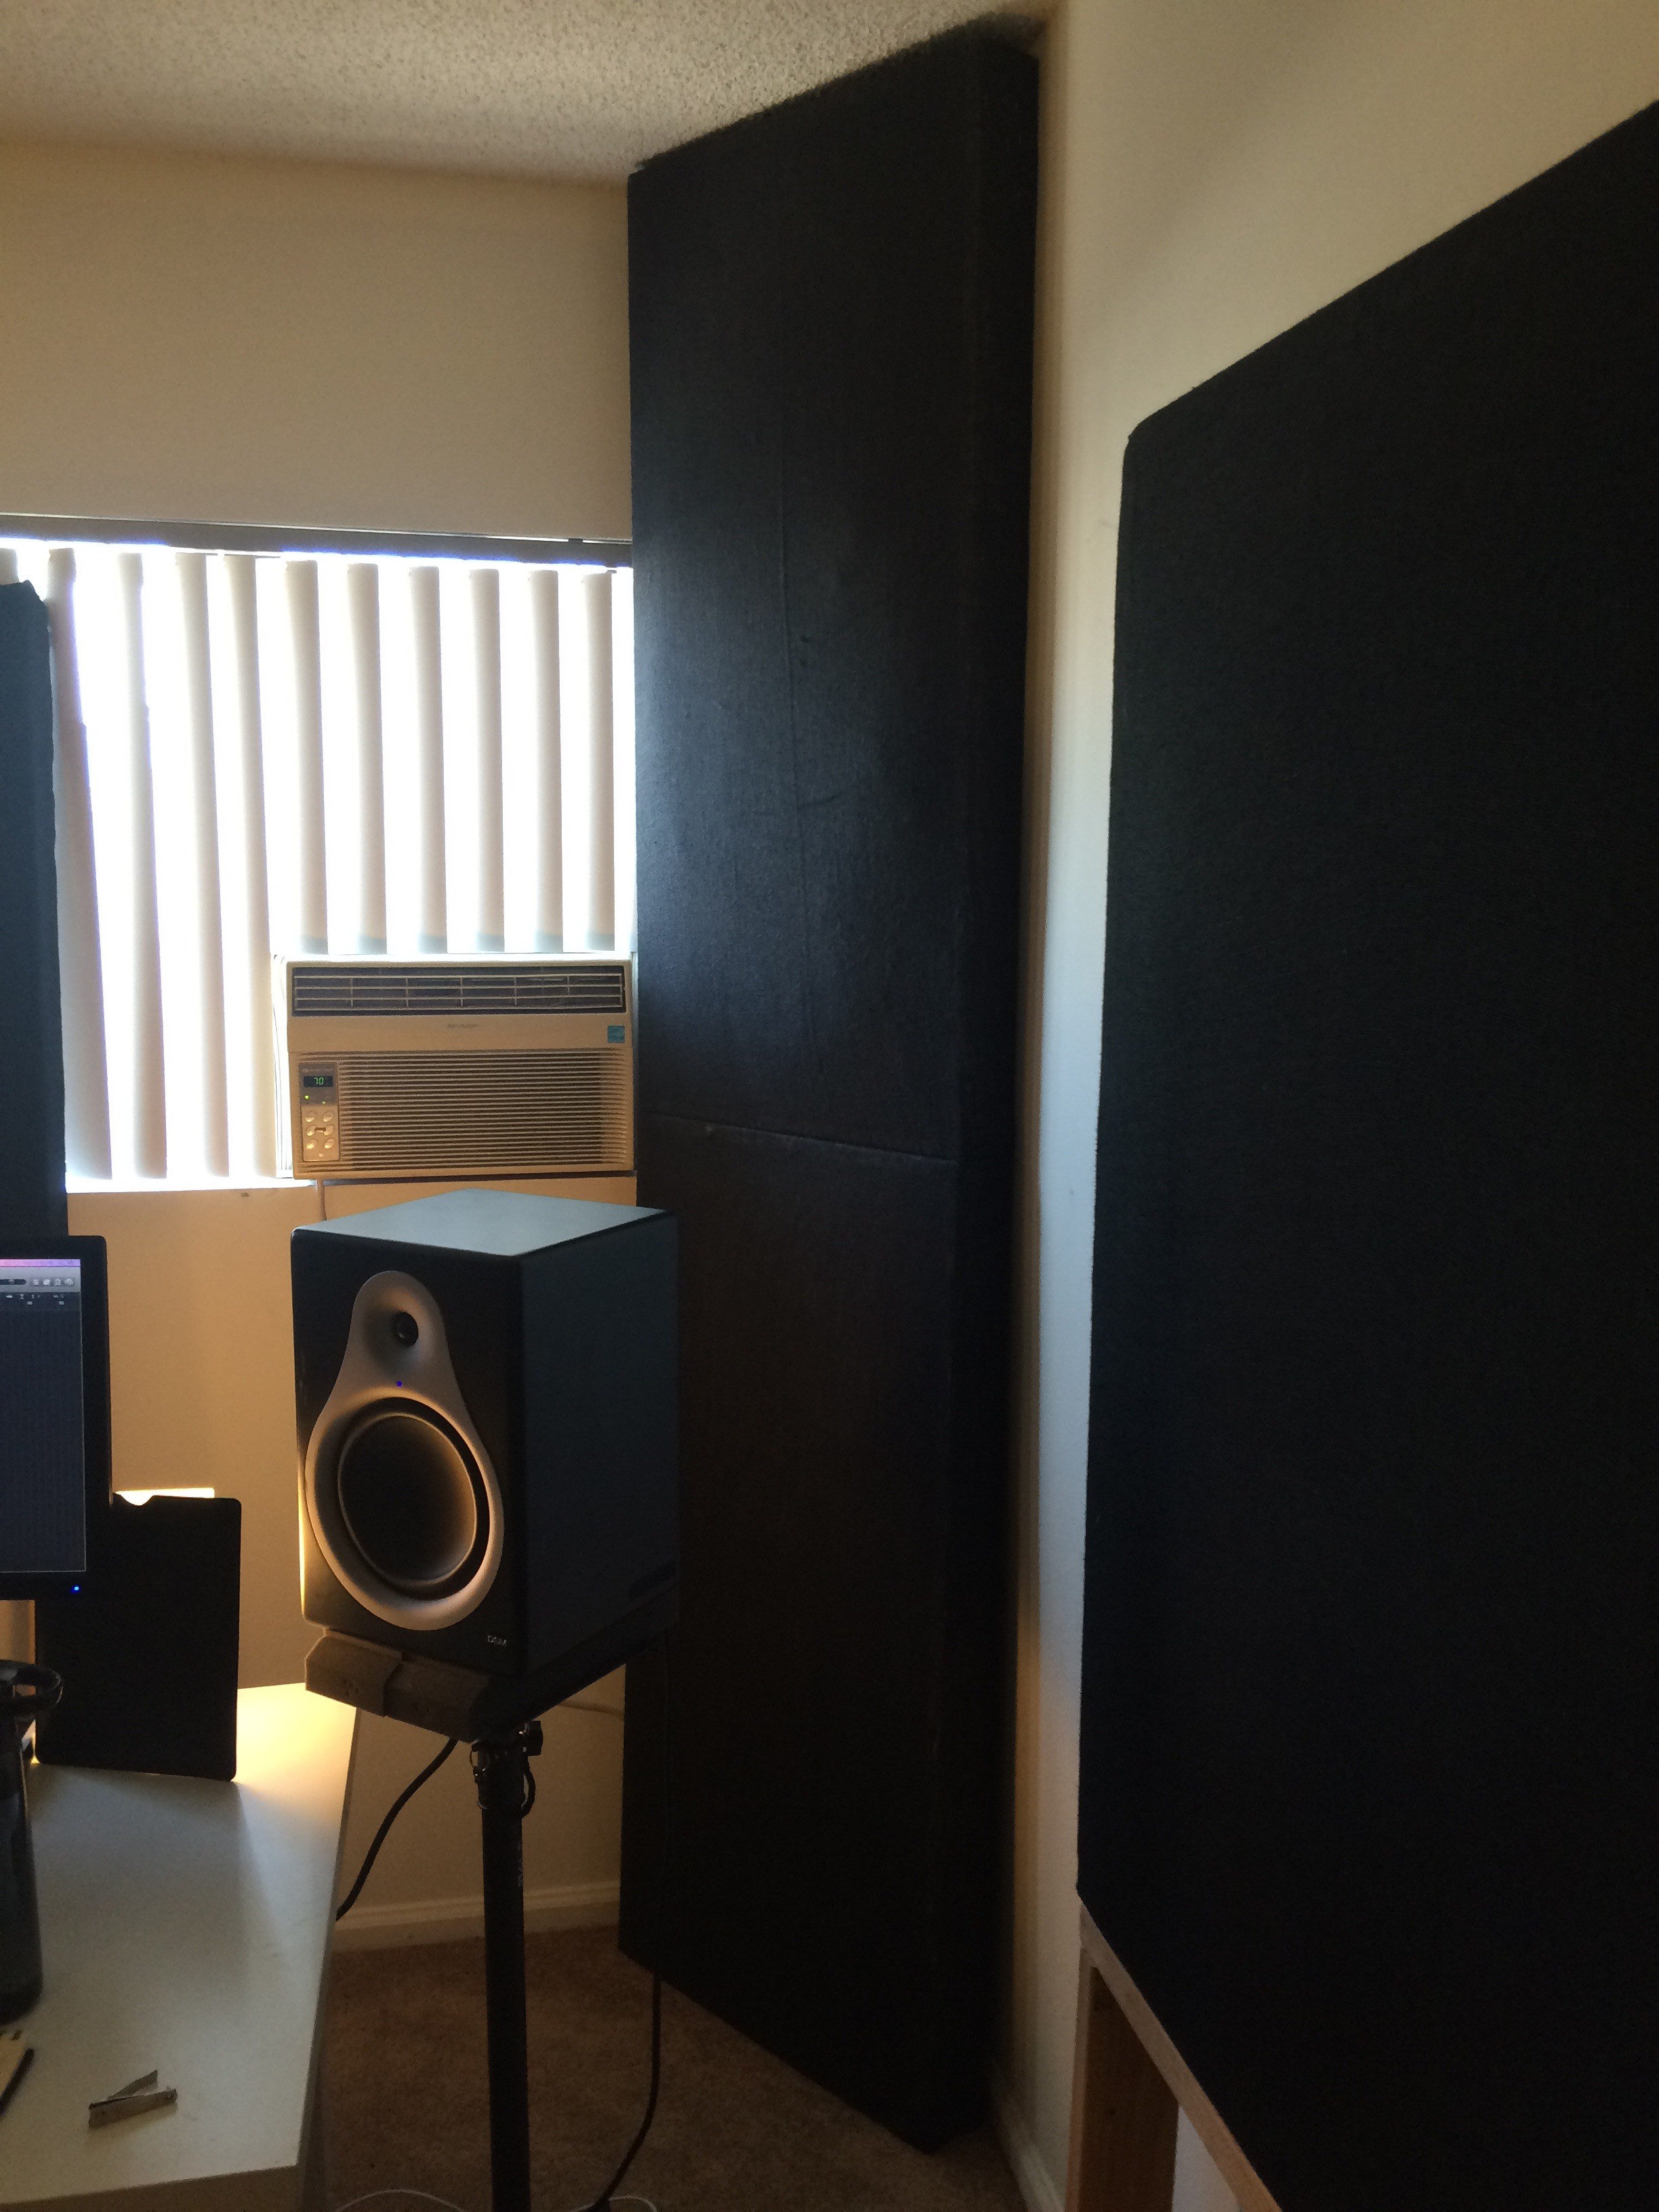
Two panels stacked vertically